
Shopping Cart
Frame assembly
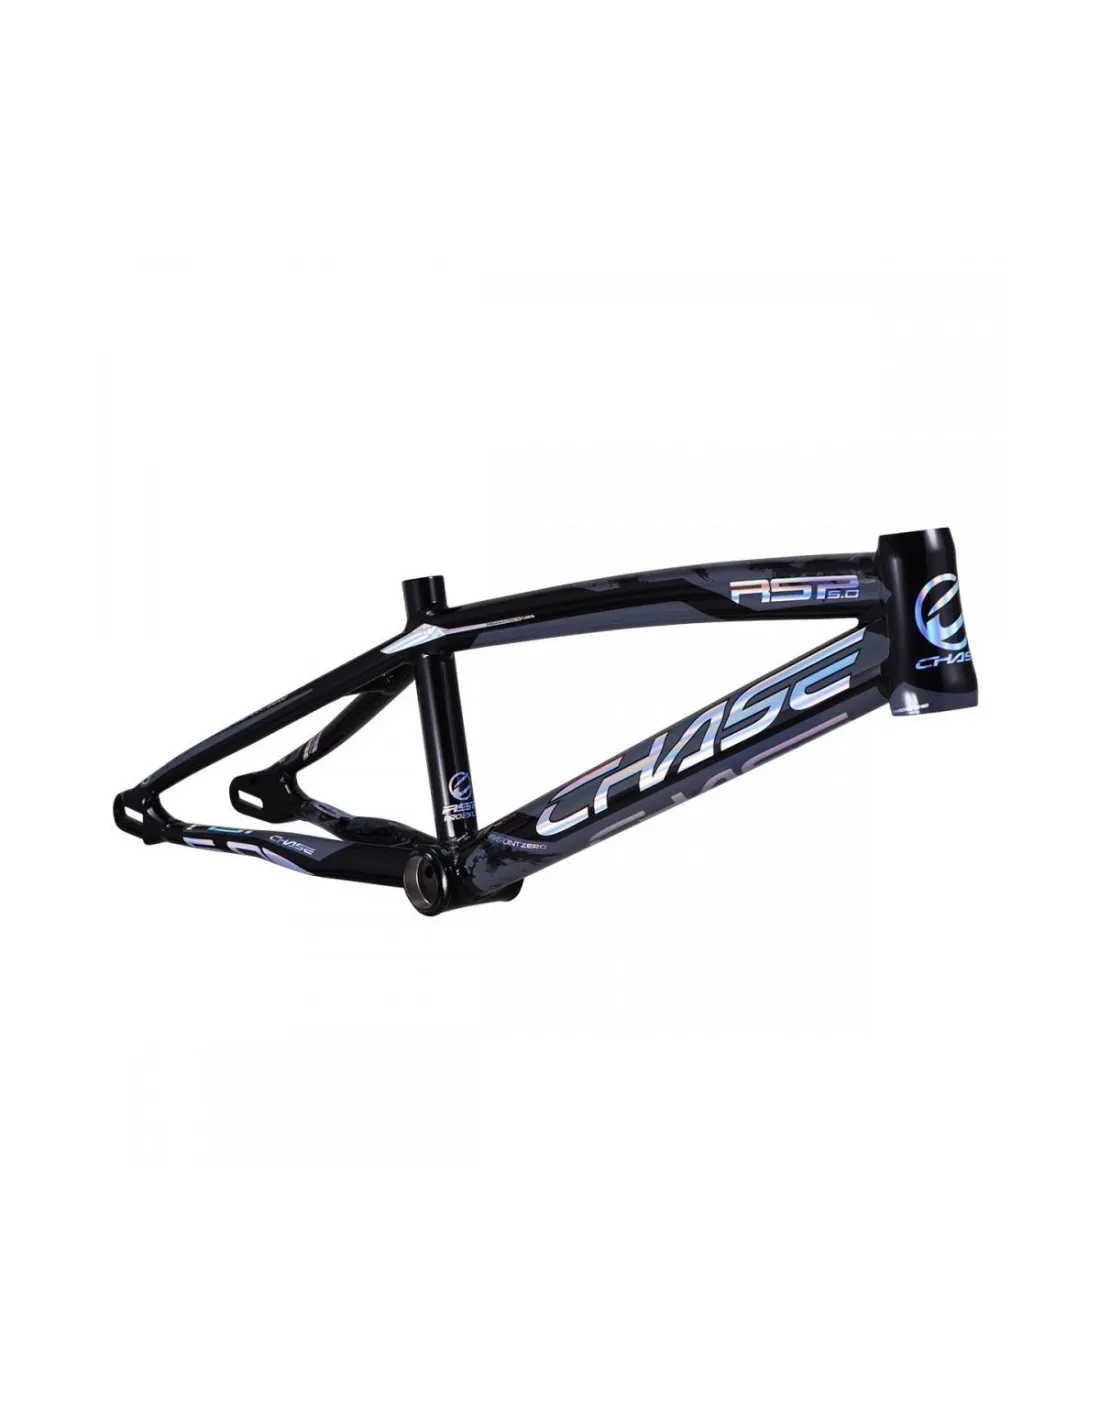
Before assembling the frame, ensure that the bottom bracket threads are clean and free of corrosion or metal shavings. Also, before assembly, ensure that the brake bosses are securely screwed in, and that the head tube has not been damaged or dented during transport.
Steering Assembly
Assembling the headset is a crucial step in building a BMX race bike, as it ensures precise, smooth, and play-free steering. You will also need a tub of grease, ideally lithium-based.
Before installation, it is important to check the compatibility of the headset with the frame and fork, particularly the steerer tube diameter and the type of bearings used. There are several types of headsets in BMX, including the integrated 1"the external 1"(on older BMX bikes), , semi-integrated (less common), the 1 1/8" integrated circuit, the external1 1/8" and the tapered1 1/8"-1 1/5".
The bearings must be installed in the correct orientation, with the bearing surfaces properly positioned, and lightly greased if recommended by the manufacturer.
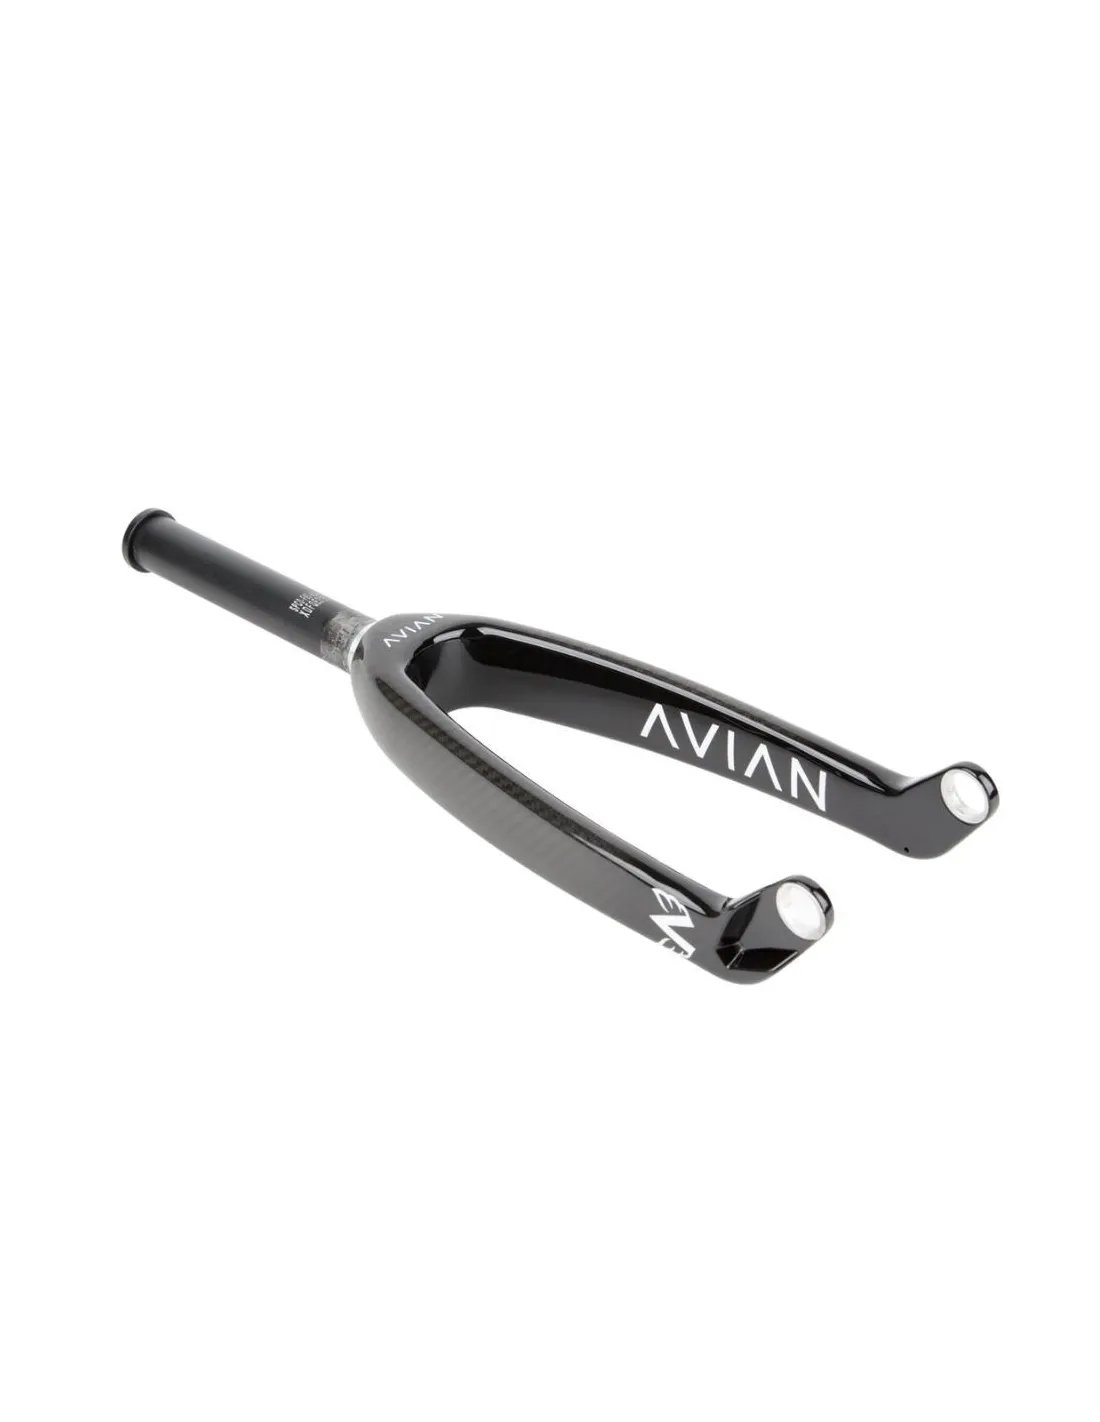
You'll find a split aluminum bushing that sits on the bottom of the fork steerer tube. If this bushing isn't melted, you'll need to force it in using a tube and a mallet. It sits on the small shoulder at the very bottom of the fork. Next, the various components of the headset are placed in the head tube of the frame, and then the fork steerer tube is inserted.The spacers are positioned above or below the stem depending on the desired configuration in order to obtain the correct cockpit height.
The stem is then installed on the steerer tube, generally leaving a slight gap between the top of the steerer tube and the top of the stem to allow for preload adjustment. Remember to grease your six Allen bolts and tighten them in a crisscross pattern so that the top cap is securely fastened and evenly positioned on the handlebars.
The top cap and its screw then allow the headset to be preloaded without excessively tightening the bearings.
Once this operation has been completed, the stem can be aligned with the front wheel before tightening its screws to the torque recommended by the manufacturer.
Bottom bracket assembly
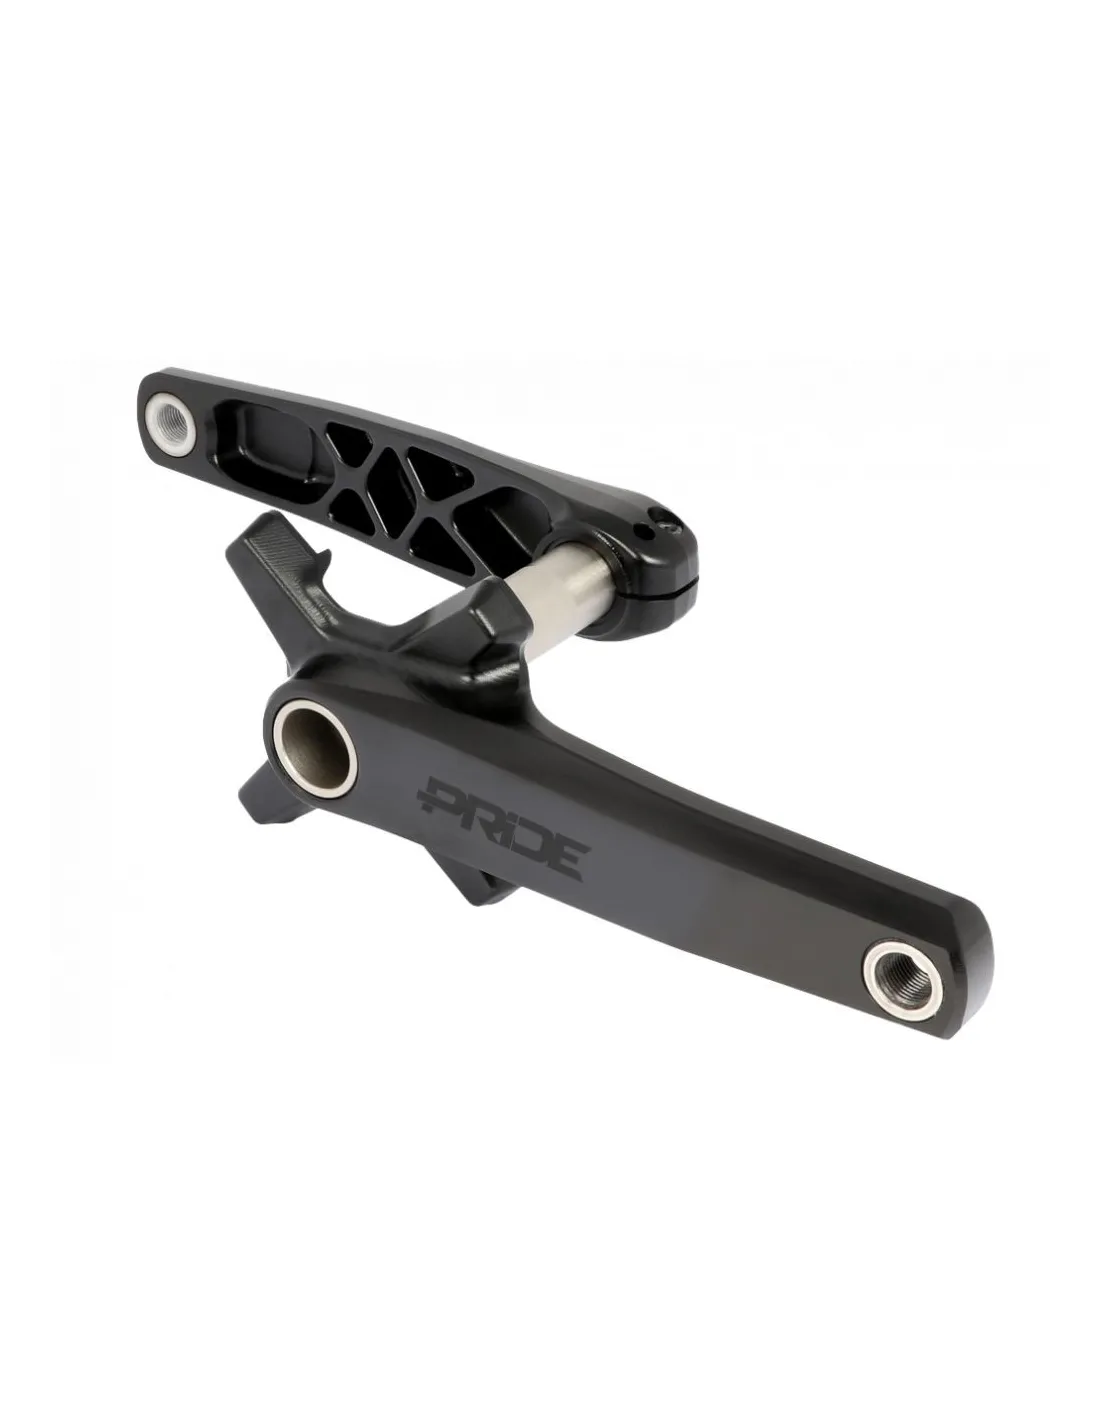
The bottom bracket provides the connection between the frame and the crankset and must be mounted with great care to ensure smooth and efficient pedaling.
On a BMX Race, there are several bottom bracket standards, so you must start by checking the compatibility between the frame, the bottom bracket and the bottom bracket axle.
Before installation, the contact surfaces of the housing and the threads of the frame must be clean to avoid misalignment or unwanted noise.
For a threaded housing, a thin layer of grease or the product recommended by the manufacturer can be applied to the threads before assembly.
The cups or bearings are then installed in the frame, carefully respecting their left or right side.
It is also necessary to respect any spacers provided by the manufacturer in order to correctly position the crankset in relation to the frame.
The bottom bracket axle is then inserted through the bearings before the cranks and the fastening system are put in place.
Tightening must be carried out gradually and to the recommended torque, as insufficient tightening can cause play while excessive tightening can damage the bearings.
Once the crankset is installed, its rotation must be checked and it must be verified that there are no hard spots or lateral movement.
Braking System Assembly
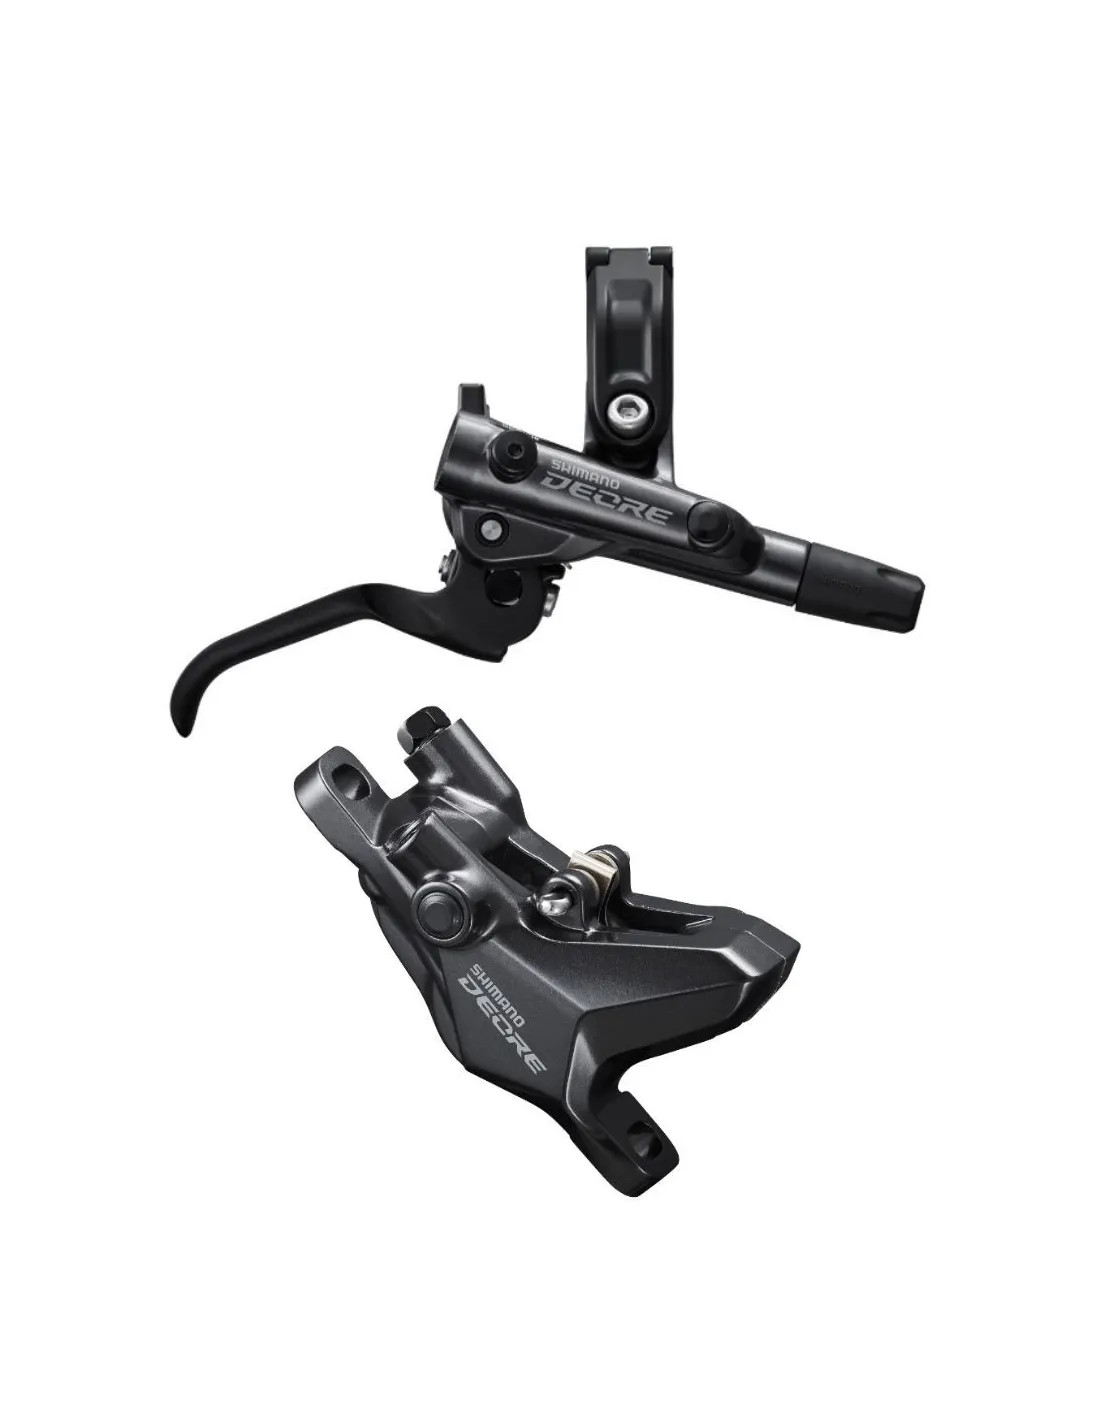
Mounting disc brakes on a BMX Race bike requires special attention to achieve powerful, progressive and perfectly reliable braking.
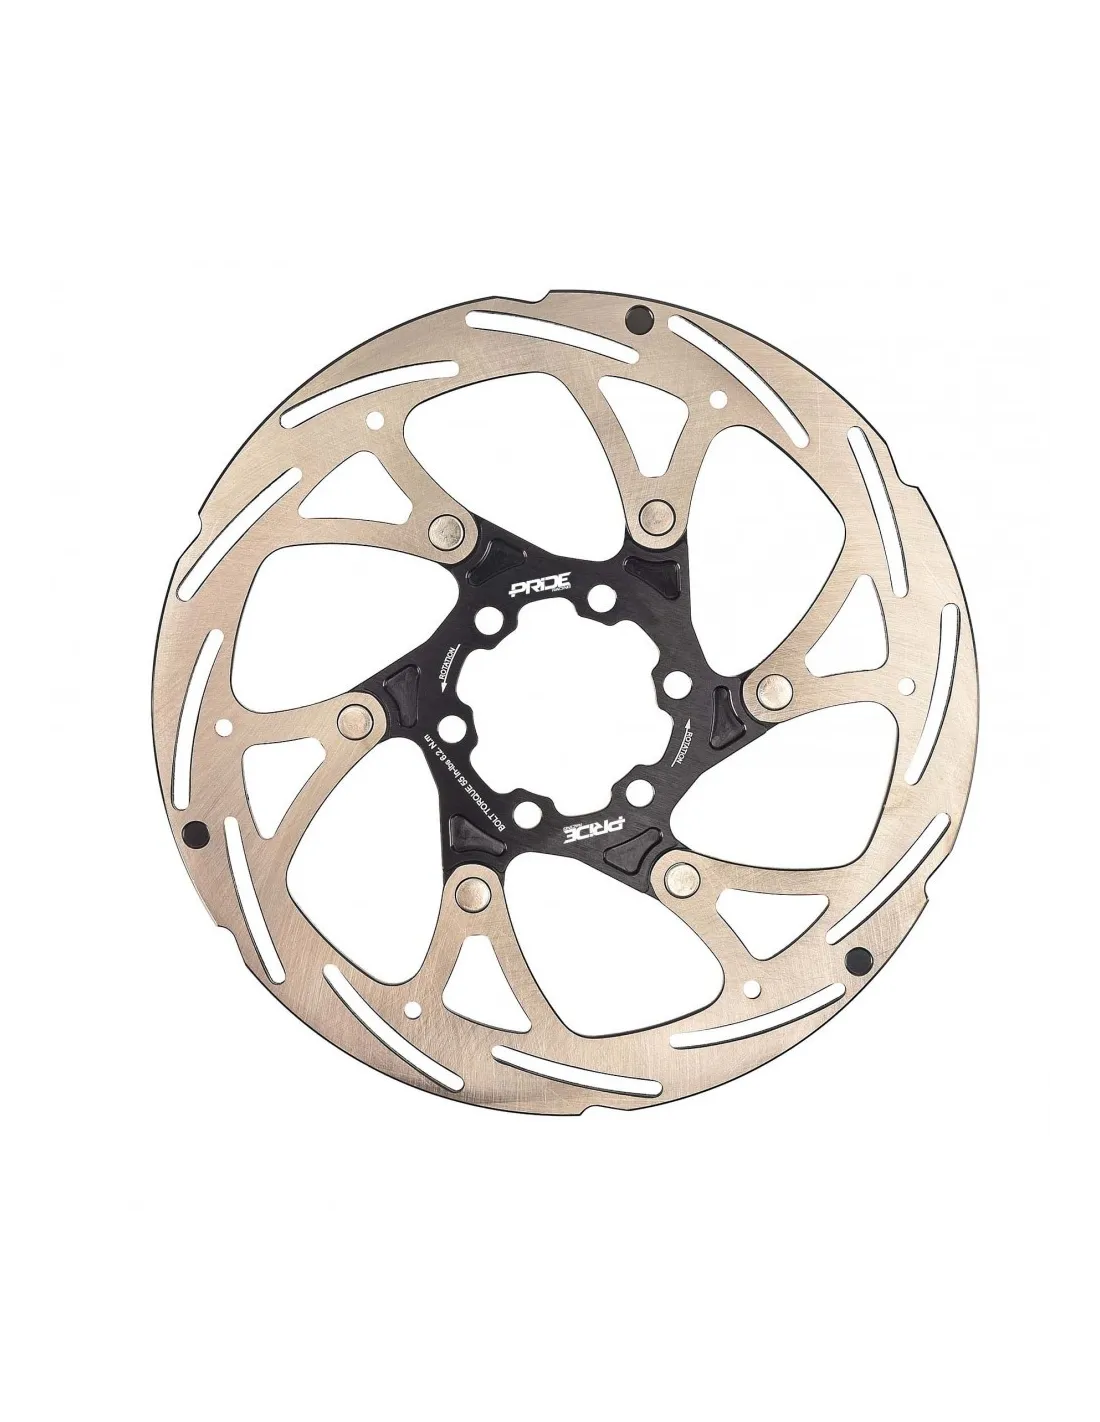
The first step is to attach the disc to the wheel hub using the appropriate standard, such as a six-bolt or Center Lock system, depending on the equipment. You will obviously need an ISO 6 rear wheel to mount the disc, which is usually 120 or 140 mm in size.
The disc screws must be greased and tightened progressively in a crisscross pattern and to the torque specified by the manufacturer to ensure uniform fastening.
The brake caliper is then positioned on its support at the frame, depending on the BMX configuration.
It is essential to properly center the caliper in relation to the disc to prevent the pads from constantly rubbing during wheel rotation.
The brake hose must also be correctly positioned, without excessive bends or constraints that could impede braking operation.
After installation, the lever's operation must be checked and it must be verified that the pads make regular contact with the disc. The disc and pads must remain perfectly clean and free of grease or lubricant, otherwise braking performance will be greatly reduced. A gradual break-in of the system is then necessary to allow the pads and disc to work correctly together.
On a BMX Race, where braking is particularly important when approaching turns and during recovery phases, a perfectly tuned system provides control, precision and safety.
Wheel Assembly
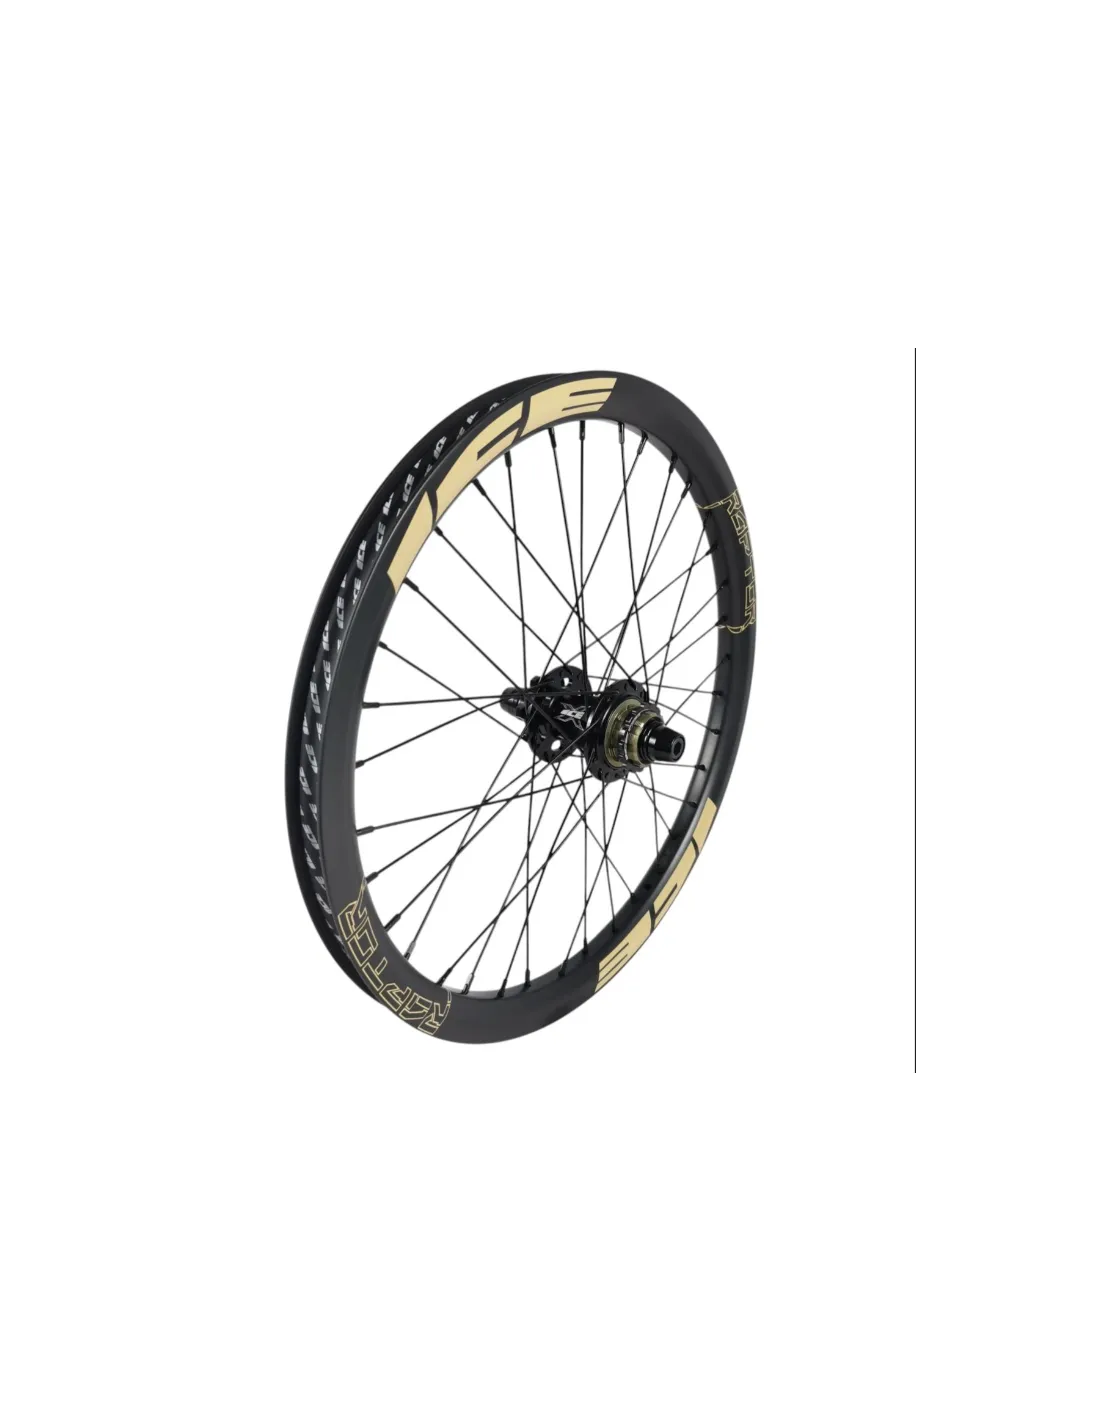
Wheel mounting is an important step on a BMX race bike, as the wheels must be perfectly positioned and properly tightened to ensure stability and performance. Remember to center your rear wheel in the frame's seat stays and ensure the chain tension isn't too tight (a new chain will loosen after 1 or 2 months of use).
The rear wheel requires particular attention, especially regarding its positioning within the frame dropouts and its alignment with the drivetrain.Before installation, pBefore inflating and putting your rear wheel in place, make sure the tire is in the right direction, otherwise you will have to take everything apart again (there is usually an arrow indicating the direction on the sidewall of the tire).
The axles are then tightened to the torque recommended by the manufacturer to prevent any wheel movement during riding.
Remember to use thin spacers for wheels with 20mm axles so that the axle is not directly pressing on the fork dropouts.
In the case of a disc brake, the disc must be correctly positioned between the caliper pads without causing abnormal friction.
Tire pressure must then be adjusted according to the rider's weight, tire type, track surface, and track conditions.
On a BMX Race bike, the choice and adjustment of wheels and tires have a direct influence on acceleration, grip and the ability to maintain speed.
Transmission assembly
The drivetrain assembly is particularly important on a BMX Race bike, as it must efficiently transmit all the rider's power to the rear wheel. consists mainly of the crankset,of the crown, of the chain, of the crown chimney screws, of the sprocket or of a freewheel screwed onto the rear hub.
The crown is fixed to the crankset respecting its orientation and tightening the screws to the torque recommended by the manufacturer.
The chain must then be mounted onthe crown and the sprocket, then adjusted to the correct length according to the BMX's configuration. For half-link chains, mount it with the rounded ends facing upwards so that the chain can fit as much as possible into the teeth of the crown.
On a BMX race bike, properly adjusted chain tension is essential: it must be tight enough to prevent derailments, but not so tight as to create unnecessary resistance. When installing your chain, and this is VERY IMPORTANT, push the chain rivet (or pin) back far enough so that it's balanced and protrudes from the link the same length on both the right and left sides. Also, remember to manually bend the chain, creating a twist with your hands to ensure there are no stiff spots once everything is in place.
The alignment ofthe crown with the rear sprocket so that the chain runs as straight as possible. This is called the Q-factor, which is mentioned in crankset specifications to ensure perfect chain alignment. It is essential to ensure that the chainring is not too far off-center from the bottom bracket, otherwise your chain will run diagonally. Your chain must be as straight and aligned as possible between The chainring and sprocket. Remember to install a thin spacer on each side of your bottom bracket so that when tightening the crankset, there is no friction between the cranks and the bottom bracket. Balance the spacers that come with your bottom bracket (for Euro bottom brackets); avoid using three washers on one side and none on the other! Too many washers on the chainring side will misalign the chain and therefore the drivetrain, leading to premature wear of your components.
After assembly, the crankset should turn freely and the chain should move smoothly, without any stiff spots or abnormal noise.
You will notice that with new equipment (sprocket and chain) of good or even very good quality, you will have an almost perfect machining which will generate an importance on your transmission so that it turns perfectly straight which will avoid a hard spot. A light check of chain tension and wear should be carried out regularly (every 2-3 months), as a poorly maintained drivetrain can lead to a loss of efficiency or derailment. Ensure your chain tensioners are properly installed and adjusted to the same height on the frame; these, along with the wheel bolts, will help keep your wheel in place and prevent it from moving.
On the track, a clean, well-lubricated and properly adjusted transmission maximizes power transfer and maintains efficient pedaling with every pedal stroke.
Upholstery assembly
Mounting the saddle on a BMX Race bike begins with installing the seat post, by checking its diameter and its proper insertion into the frame.
The saddle is then attached to the seatpost and adjusted according to the rider's position and build. For pivoting saddles, apply grease to the threaded part that goes into the seatpost. Don't hesitate to also apply grease to the bottom of the seatpost so that it slides smoothly within the frame and doesn't get scratched by any debris that might get inside.
THE saddle collar allows the rod to be held firmly in the frame and must be correctly positioned.
It must be tightened to the recommended torque to ensure optimal support without damaging the frame or the stem.
It is also necessary to check that the saddle does not move after tightening.
Choosing a lightweight saddle and seat post reduces the weight of the BMX while maintaining rigidity and strength.
Regular checks of the tightness of the fasteners are recommended, particularly after training sessions and the first few outings.
COUNCIL OF BMX RACING
- Lubricating all threaded parts (stem bolts, wheel clamping bolts) to prevent breakage over time or corrosion is imperative.
A little grease on your seatpost will get your trousers dirty, but it will prevent the post from getting stuck in the frame after several years without being removed! (The same applies to Chase frames with the AERO seatpost.)
- A crankset clamping screw is a compression screw; tighten it sufficiently but never fully so that the cranks turn smoothly.
- Remember to regularly check the tightness of your lockring (screw which allows you to tighten the sprocket onto the rear wheel), also check the tightness of your BTR chainring screws which tend to loosen regularly.
- Disassembly, cleaning and greasing should ideally be done every year, this applies to steering and bottom bracket bearings, and every 2 years for sealed wheel bearings.
To mount your brake caliper onto the disc bracket without it rubbing against the disc, bring the brake pads into contact with the disc by applying the brake lever, then tighten your brake caliper. Your braking will be perfectly centered.